Step-by-Step Guide: How to Wire Landscape Lighting for Your Yard
Outdoor landscape lighting adds both beauty and functionality to your home, providing safety, security, and ambiance. Whether you’re highlighting garden features, illuminating pathways, or enhancing outdoor living spaces, proper wiring is essential to ensure the system is safe and durable. In this comprehensive guide, Vergel Irrigation Limited will show you how to wire landscape lighting for your yard, step by step.
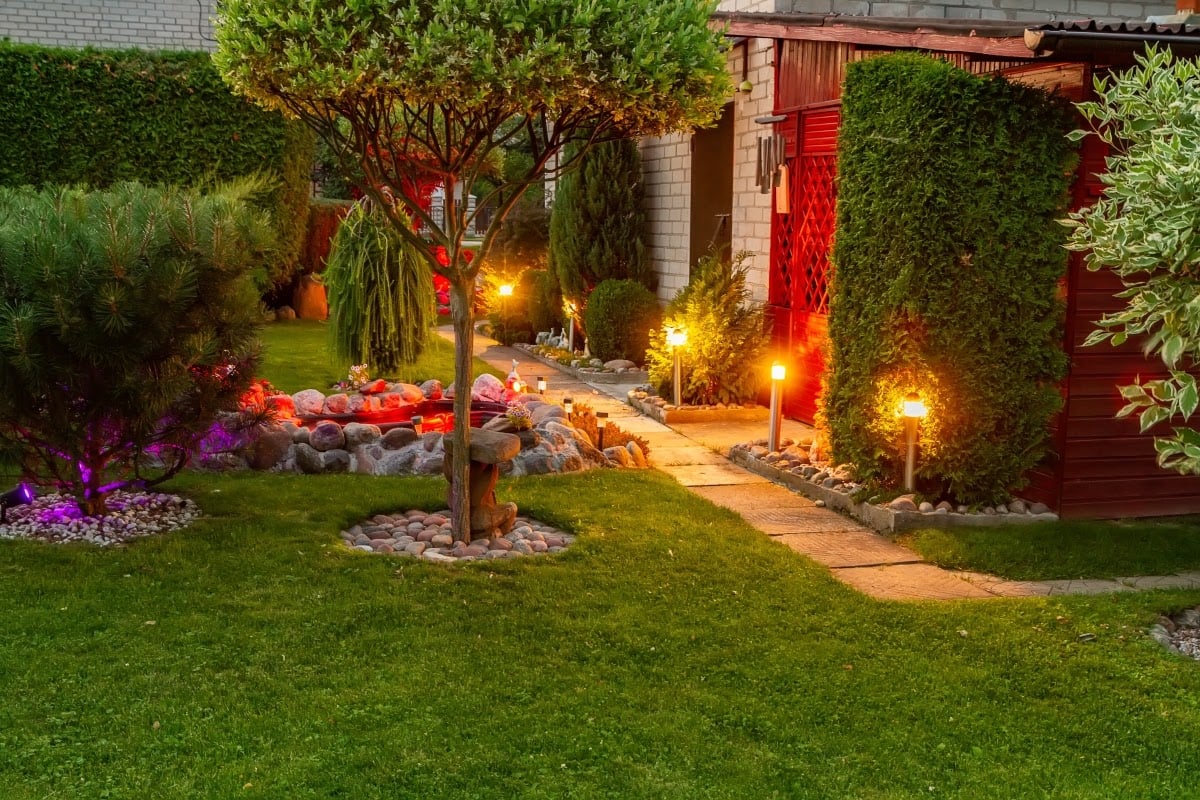 Why Choose Low Voltage Landscape Lighting?
When considering landscape lighting, you’ll likely come across both low-voltage and solar-powered options. In this guide, we focus on low-voltage lighting, which is often preferred for its reliability, brightness, and versatility. Low voltage lighting systems use a transformer to convert your home’s standard 120-volt electricity to a safe 12-volt current, which significantly reduces the risk of electrical shock.
Low-voltage systems are easy to install, energy-efficient, and allow you to create customized lighting designs for your landscape. Plus, with the advancements in LED technology, you can enjoy long-lasting and eco-friendly lighting solutions for your outdoor spaces.
Materials You’ll Need
Before getting started, gather all the necessary tools and materials. Here’s what you’ll need to wire your landscape lighting:- Transformer (sized for your lighting system)
- Low voltage landscape lights
- Low voltage electrical wire (usually 12-gauge or 14-gauge)
- Wire strippers
- Wire connectors
- Electrical tape
- Power drill
- Timer or photocell (optional)
- Ground stakes for light fixtures
- Focus on function
- Highlight key features
- Avoid over-lighting
- Choose a location
- Secure the transformer
- Connect to power
- Bury the wire
- Strip the wire
- Attach the connectors
- Seal the connections
- Adjust the light angles
- Turn on the transformer
- Fine-tune the setup
- Dig shallow trenches
- Cover the wire
At Vergel Irrigation Limited, we recommend investing in high-quality materials to ensure the longevity and safety of your landscape lighting system. Durable components will save you from frequent replacements and repairs, especially in harsh weather conditions.
Step 1: Plan Your Layout
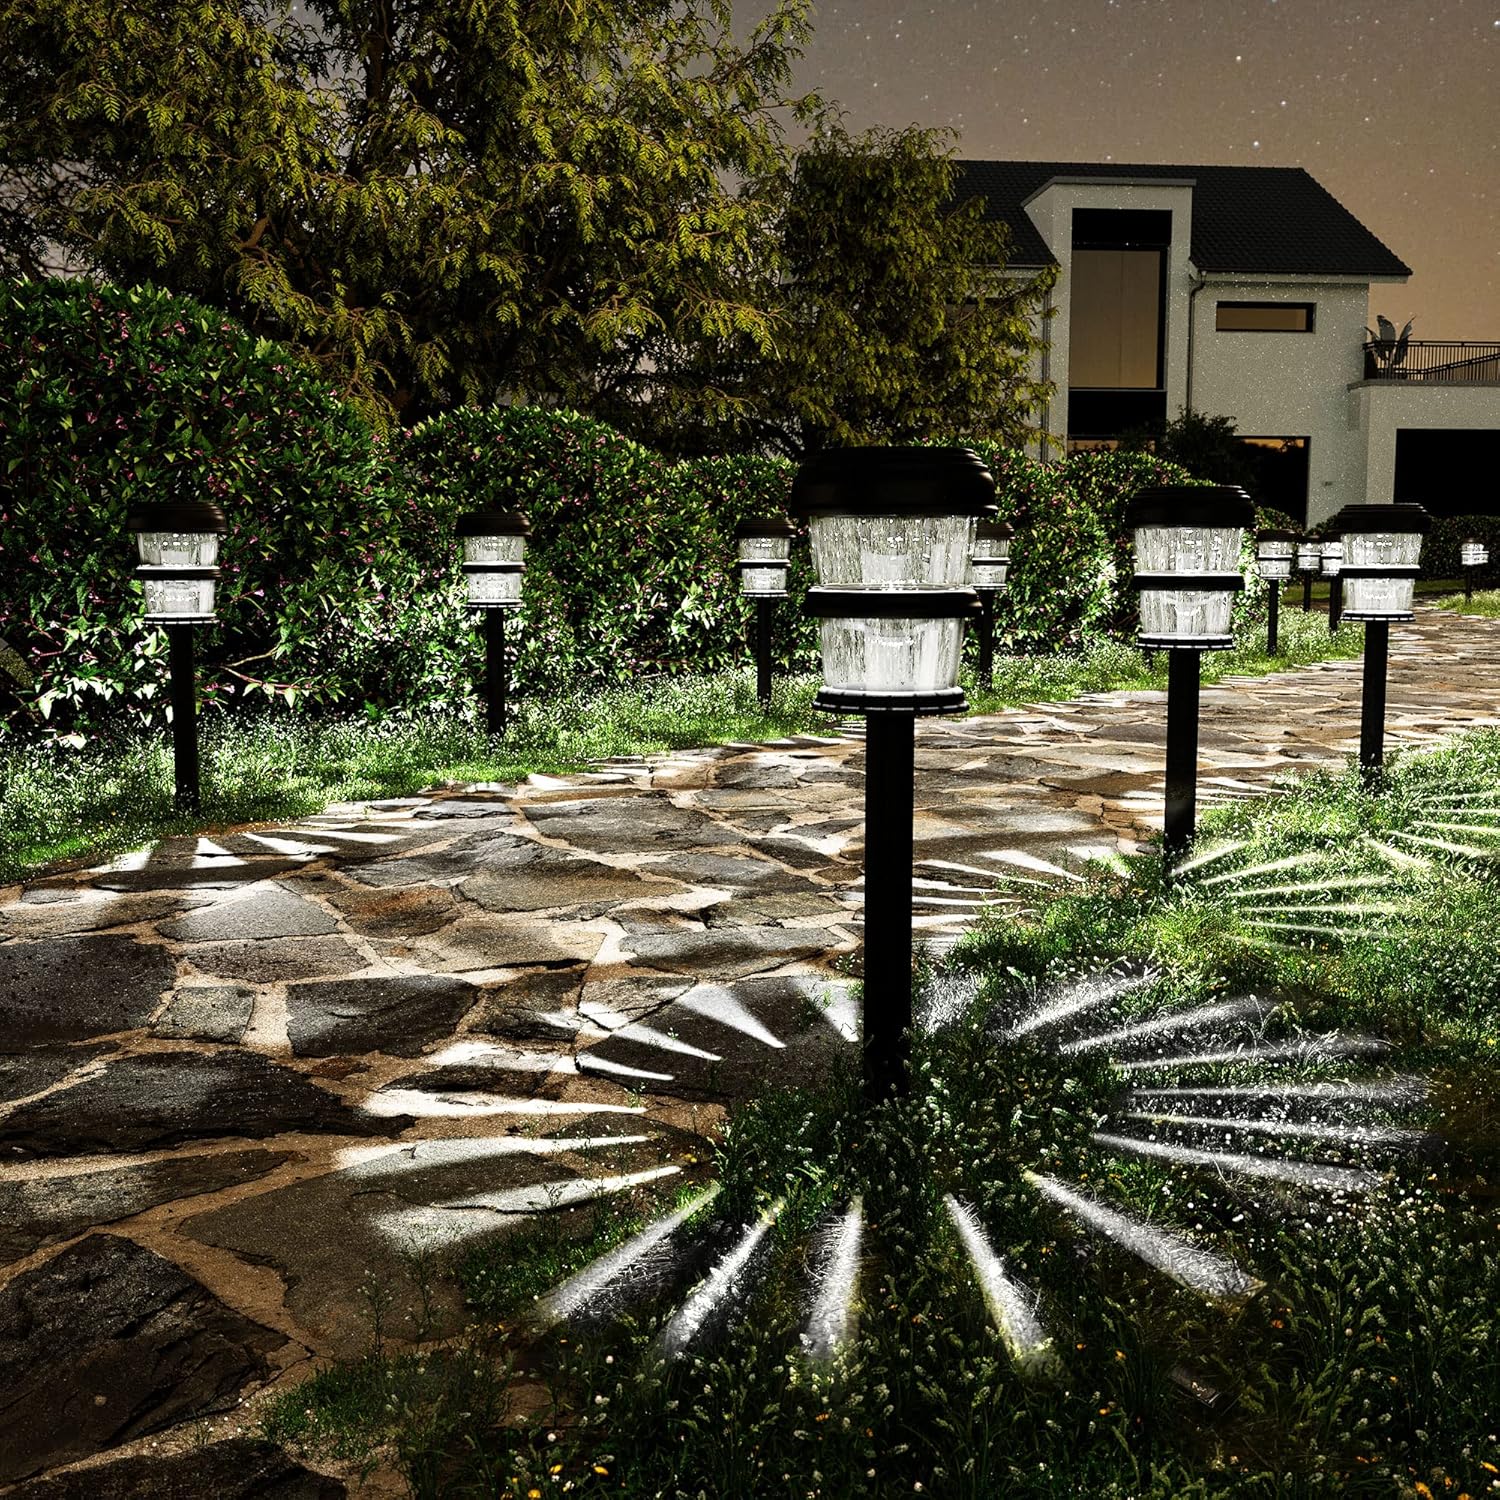 Proper planning is the key to a successful landscape lighting installation. Start by mapping out your yard and determining where you want to place your lights. Think about the areas that need to be illuminated, such as pathways, driveways, gardens, trees, or architectural features like pergolas or patios.
Here are a few considerations for planning your layout:
Ensure walkways, stairs, and other high-traffic areas are well-lit for safety.
Use lighting to emphasize trees, plants, water features, and sculptures.
Be mindful of light pollution and ensure your setup creates a balanced, welcoming atmosphere.
Once you’ve decided on the placement of each fixture, make a rough sketch of your yard and mark where the lights, transformer, and power source will be. Measure the distances to ensure you purchase the correct length of low-voltage wire.
Step 2: Install the Transformer
The transformer is the central hub of your low voltage lighting system. It converts your home’s standard 120-volt electricity to a safe 12-volt current suitable for outdoor lighting. To install the transformer:Mount the transformer near an outdoor power outlet, preferably in a protected spot, like on a wall under a roof overhang. The location should be close enough to where your lighting layout begins.
Use a power drill to mount the transformer securely to the wall.
Plug the transformer into a GFCI (Ground Fault Circuit Interrupter) outlet for safety. If your transformer has a timer or photocell, you can set it to control when your lights turn on and off automatically.
At Vergel Irrigation Limited, we recommend selecting a transformer with built-in timers or smart technology to save energy and manage your lighting efficiently.
Step 3: Lay the Electrical Wire
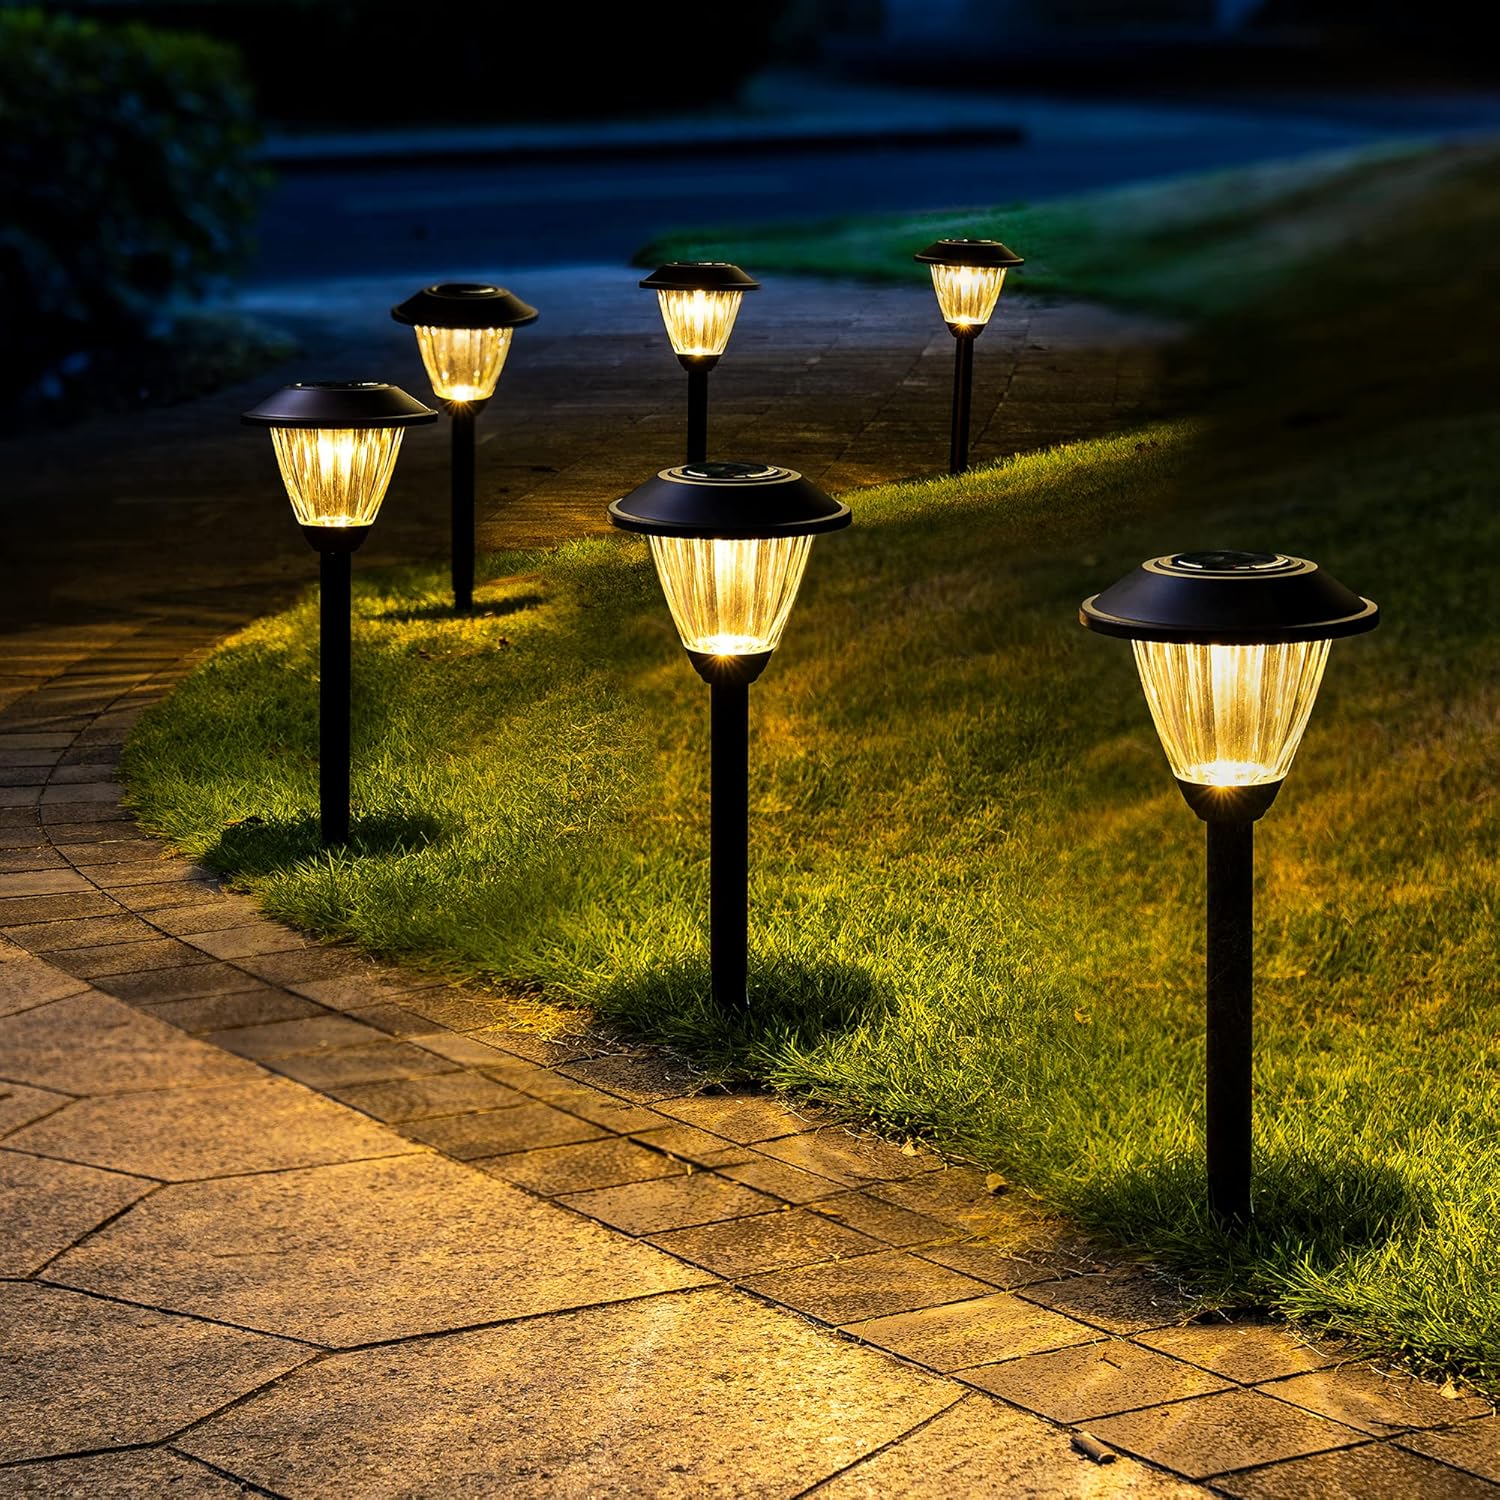 Begin by running the wire along the planned path of your lighting layout. Leave enough slack for adjustments, especially if you’re working around obstacles like trees or landscaping.
After positioning the wire, bury it 3-6 inches deep in the soil to protect it from weather elements, lawnmowers, and other potential hazards. Use a garden trowel or shovel to create shallow trenches for the wire.
For ease of future maintenance, Vergel Irrigation Limited suggests leaving a little extra wire above ground where each fixture will be installed. This makes it easier to relocate or replace lights if necessary.
Step 4: Connect the Lights to the Wire
With the wire in place, you can now connect your landscape lights. Many modern low-voltage lights come with quick-connect fittings, making this process simple. However, if your lights require manual wiring, follow these steps:Use wire strippers to remove about ½ inch of insulation from the main low-voltage wire at the location where each light fixture will be installed.
Connect the exposed wire to the connectors on your landscape lights. Make sure the connection is tight and secure. Some fixtures will have screw-on connectors, while others may use push-in fittings.
For added protection against moisture and corrosion, wrap the connections with electrical tape.
Vergel Irrigation Limited recommends testing each light as you install it to ensure it’s properly connected and functioning.
Step 5: Position and Install the Lights
 Position each fixture according to your initial layout plan. For ground lights, use the included stakes to anchor them firmly into the soil.
Many landscape lights have adjustable heads that allow you to direct the beam where you want it. Take this opportunity to fine-tune the angles to ensure your plants, pathways, and architectural elements are well-lit.
Proper positioning will help you achieve a balanced, attractive lighting design. Vergel Irrigation Limited recommends experimenting with different angles and distances to create the most flattering effect.
Step 6: Test Your Lighting System
Before burying all the remaining wire, it’s important to test the entire system to make sure everything is working as expected.Power up the transformer and check that each light is illuminated. If any lights are not working, double-check the connections and make any necessary adjustments.
Now that the system is live, you can further adjust the position of the lights to optimize the lighting effects.
Vergel Irrigation Limited emphasizes the importance of testing the system at night to see the full effect of your lighting. Make sure all areas are properly illuminated without overexposing any part of the landscape.
Step 7: Bury the Remaining Wire
Once the system is working correctly and the lights are positioned to your liking, you can bury the remaining wire. This step will ensure that your wiring is protected from environmental elements and yard activities.Use a garden tool to dig shallow trenches along the wire path, making sure to keep the wire buried about 3-6 inches below the surface.
After placing the wire in the trenches, fill them with soil, and tamp it down to secure the wire in place.
Burying the wire not only makes your yard look cleaner but also prevents accidental damage to your lighting system. Vergel Irrigation Limited suggests routinely inspecting the wires and lights to ensure they remain protected.
Step 8: Set the Timer
 If your transformer comes with a timer or photocell, set it to automatically turn the lights on and off. This step helps save energy and ensures your outdoor lighting is only active when needed. Most timers allow you to program different schedules for weekdays and weekends, while photocells automatically activate the lights at dusk and turn them off at dawn.
Conclusion
Wiring landscape lighting is a manageable DIY project that can greatly enhance the look and functionality of your outdoor spaces. By following this guide and using quality materials, you can create a professional-looking lighting setup that lasts for years. At Vergel Irrigation Limited, we specialize in both irrigation and lighting solutions, helping homeowners achieve beautiful and functional landscapes. Whether you’re a DIY enthusiast or prefer professional installation, we’re here to support you every step of the way.
Now that you know how to wire landscape lighting, you can start transforming your yard into a beautifully illuminated space that’s safe, stylish, and welcoming, day or night.